
When doing due diligence, it’s important to uncover how companies and people may be linked. These connections can reveal potential risks, hidden partnerships, or opportunities that aren’t visible at first glance. In this tutorial, we’ll walk through how to use Lampyre to search for ties between organizations and individuals. You’ll learn the basic steps, what kind of data can be uncovered, and how to interpret the results so you can make more informed decisions.
In this tutorial, we will learn how to search for connections between companies and people using Lampyre. To begin, open the Lampyre application and create a new project file. Starting with a fresh file helps keep your investigation organized and ensures that the results you gather are stored in one place.
Step-by-Step Guide: Finding Company and People Connections
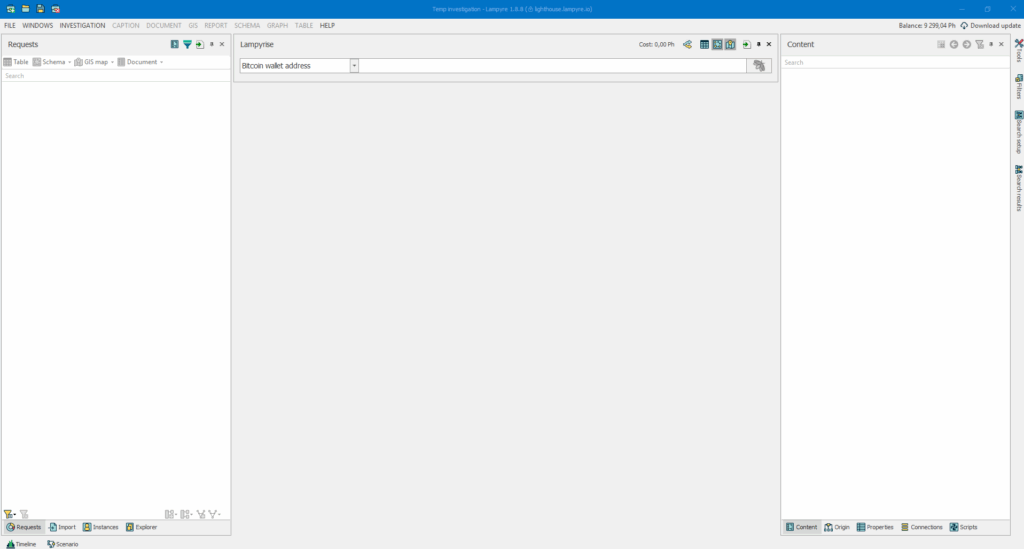
Step 1: Open the Scheme Tab
First, we will open the Scheme tab, which can be found under “File” in the navigation menu at the top. This is where you’ll build your investigation visually.
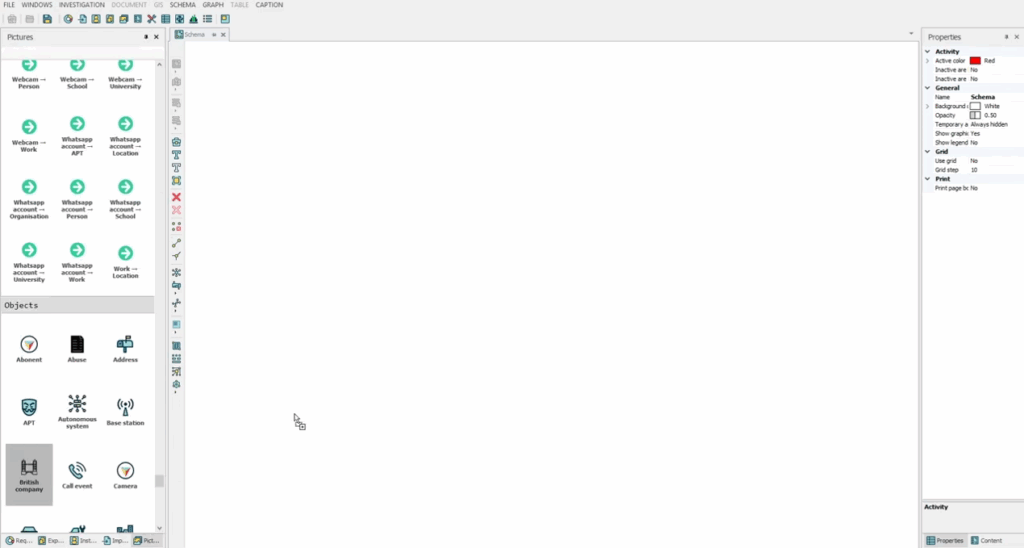
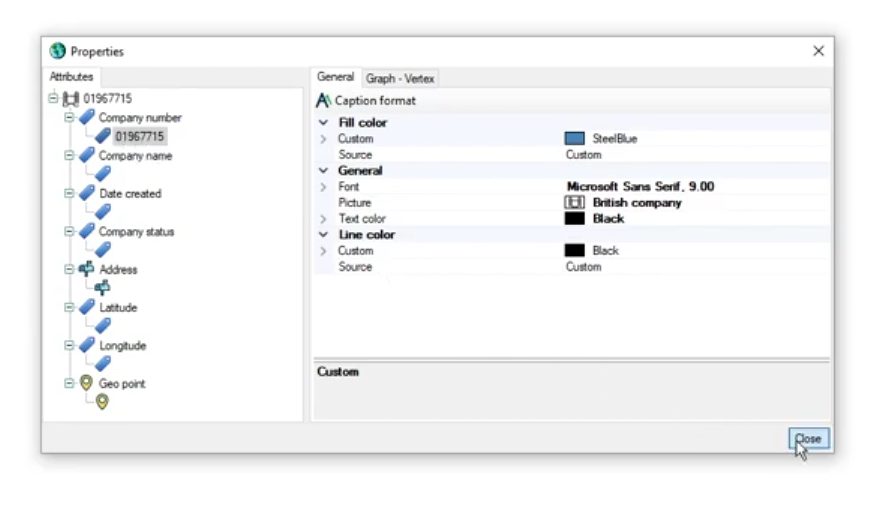
Step 2: Add a Company to the Canvas
In the Presets section, locate “British company” and drag it onto the canvas. This will open the Properties tab, where you can enter the company’s information such as the company number or name.
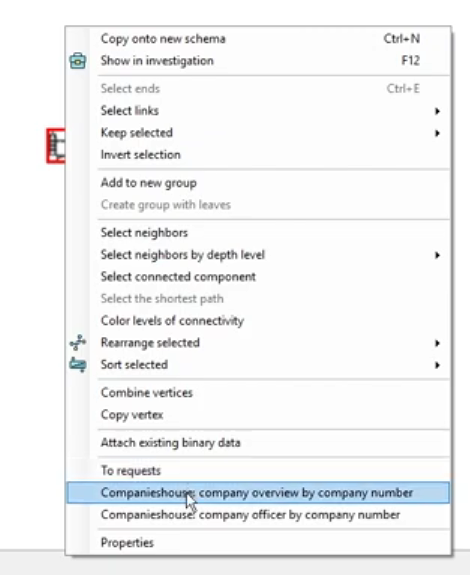
Step 3: Send Your First Request
Now that this step is complete, we can send our request. To do this, right-click on the element in the canvas. A list of available requests will appear, based on the information you entered earlier. In our case, we will send two requests using the company number.
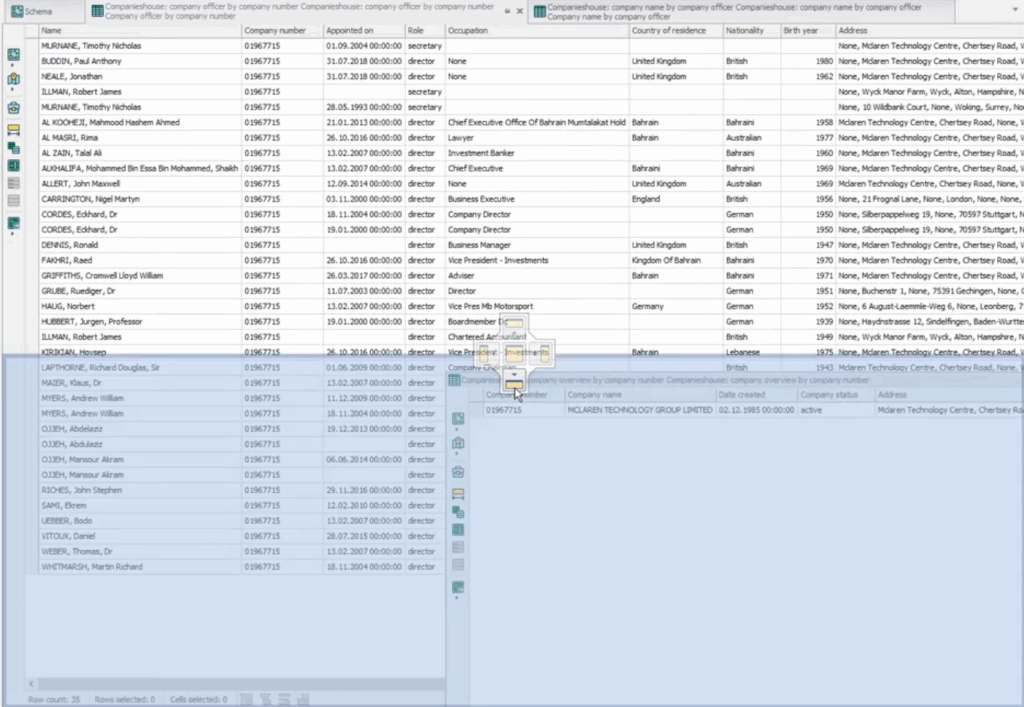
Step 4: View Your Results
In the left bar, you will be able to track your requests loading. After they are completed, you will be presented with a connection graph in your main canvas. If you would prefer a table view, just double-click on the request for a different view.

Step 5: Expand Your Search to Find More Companies
Since we were able to find all legal persons connected to this company number, we can now expand our search to see every company those people are linked to. To do this, go to the Content tab in the bottom-right corner, select People, right-click, and start another request (as shown in the picture below).

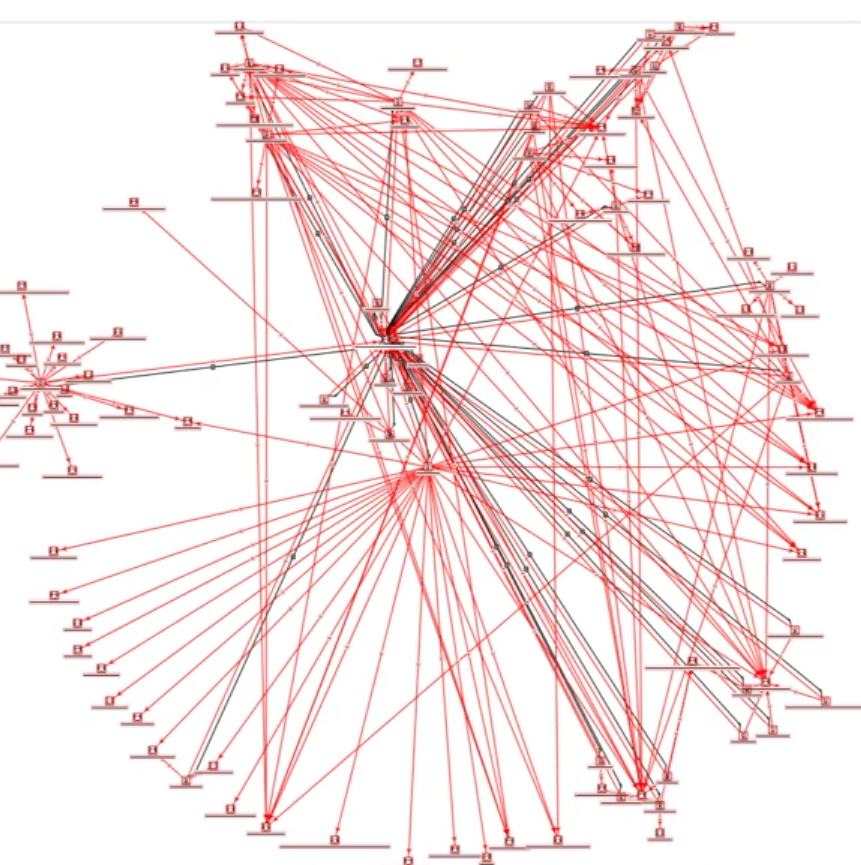
Step 6: Organize Your Results with Hierarchical View
And just like that, we are presented with every possible company connection. If you want to organize the results, navigate to the icon menu on the left and select Hierarchical View, or press Ctrl+6 to sort your connections into a clearer structure. As before, you can also double-click on the request to open it in a new table view.
Step 7: Explore Connections and Use the GIS Map
Now, let’s explore the connections between two points. To do this, take the table and drag it, which will open the Position menu. For example, you can place it below the Schema. When you select a person in the table, that same person will also be highlighted in the Schema. This makes it easier to organize your connections.
You can also select individual items and resize or move them to make certain elements stand out. If you’d like to go a step further, you can open the GIS Map. This will display the same elements on an actual map, allowing you to see where those people are working from.
Final Thoughts
With these steps, you now have the basics of using Lampyre for due diligence. By starting with a single company number, we were able to uncover the people connected to it, map out their ties to other companies, and even visualize those links on a GIS map. This workflow shows how Lampyre can help transform scattered data into a clear picture of relationships between organizations and individuals.
From here, you can continue refining your searches, exploring new requests, and building a deeper understanding of the networks you’re investigating. Start with one connection and let the data guide you to the bigger picture.