
Before we jump into using the Lampyre email OSINT tool, it’s important to understand the idea behind it. If you’re new to OSINT, or open source intelligence, it basically means collecting information from public sources. That includes things anyone can find online, without needing special access. Email OSINT is a part of that. It focuses on finding useful details linked to an email address, like social media accounts, data leaks, usernames, domains, and more.
Understanding this background will help you know what kind of results to expect and how to use them. So before we start clicking through the tool and running searches, let’s go over what email OSINT is, why people use it, and what you can learn from it.
What Is Email OSINT?
Email OSINT stands for “Email Open Source Intelligence.” It’s a way to collect publicly available information about an email address. You’re not hacking or breaking into anything private. Instead, you’re gathering data that’s already out there on the internet.
People use email OSINT for many reasons. For example:
- Investigators use it to learn more about a suspect.
- Security teams use it to check if a company email was involved in leaks or scams.
- Journalists or researchers use it to confirm if an account is real.
With the right tools, you can find out things like:
- Whether the email is linked to social media profiles.
- If the email shows up in any data breaches.
- What services the email is registered with.
- What domain or organization it belongs to.
Lampyre is one tool that makes this process easier. In this tutorial, you’ll see step-by-step how to use Lampyre’s email lookup feature to do this kind of investigation.
Step-by-Step Tutorial
Step 1: Create or Log Into Your Lampyre Account
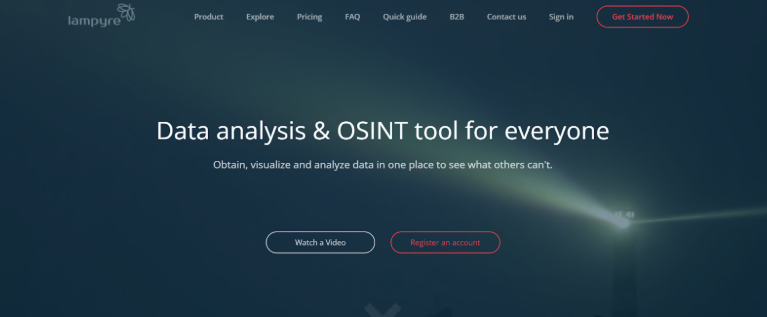
Start by going to the Lampyre website and creating a free account. The sign-up process is quick—just enter your email, create a password, and confirm your account through the link sent to your inbox.
If you already have an account, simply click “Sign in” and enter your details to access your dashboard.
Users can start with a Lampyre TRIAL account which provides them with 30 Photons. Photons are Lampyre’s internal credits, and they allow you to run various OSINT tasks inside the platform. This means you can test out the tool and explore different features without paying anything upfront.
Step 2: Explore the Lampyre Dashboard
Once you’re logged in, you’ll be taken straight to the Lampyre dashboard. This is the main control center where you can access all of the platform’s OSINT tools and manage your investigations. From here, you can choose different types of searches, load data, view results, and monitor your Photon balance.
Lampyre supports many types of OSINT tasks like phone number lookups, IP tracing, domain research, and more. But in this tutorial, we’ll focus only on email searches—one of the most commonly used and beginner-friendly features.
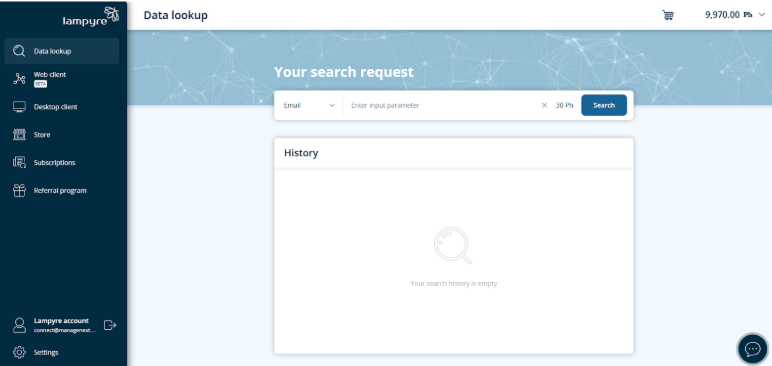
Step 3: Locate the Search Request Bar
On the main page of the Lampyre dashboard, you’ll see the search request bar near the top. This is where you start any type of lookup.
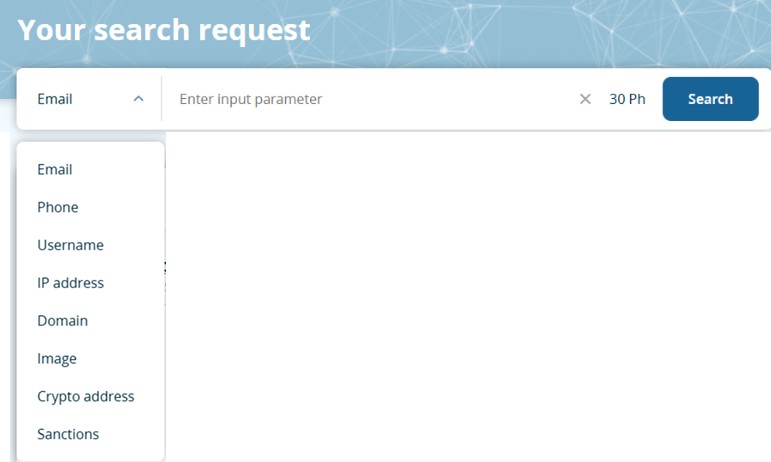
The dropdown menu in this bar lets you choose the kind of data you want to search—like phone numbers, IP addresses, domains, or email addresses.
For this tutorial, we’re going to focus on email search, so make sure to select “Email” from the list before moving on.
Step 4: Enter the Email Address to Search
After selecting “Email” from the search bar dropdown, go ahead and type in the email you want to investigate.
Once you’ve entered it, hit Enter or click the search icon. Lampyre will now start processing the request and begin crawling public data sources for any information linked to that email. This usually takes just a few seconds.
There’s nothing else you need to do at this point—just wait for the results to load.

Step 5: View or Export Your Search Results
Once the crawl is complete, the email you searched for will appear in the History window on the left side of the dashboard. This means the report has been successfully generated.
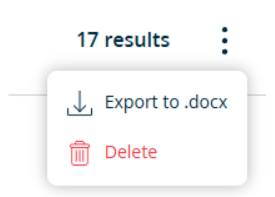
From here, you have two main options:
- Open the report inside Lampyre to view the results right away.
- Export the report to your device as a file—useful if you’re collecting multiple results or building a larger investigation.
If you’re working on a broader project, you can even export all of your searches at once.
Don’t worry about losing access—Lampyre automatically saves your search history. You can reopen any report in the tool as many times as you need without using extra Photons.
Step 6: Open the Email OSINT Report
To view the full details of your search, simply click on the email address listed in your History panel. This will open the complete OSINT report inside Lampyre.
You’ll now see all the information the tool was able to gather about the email. This can include things like connected social media accounts, leaked data, domain info, and more—depending on what’s publicly available.
Take your time exploring the different sections in the report. Each part may reveal something useful, especially if you’re doing background checks, security audits, or online investigations.

Step 7: Explore the Report Tabs
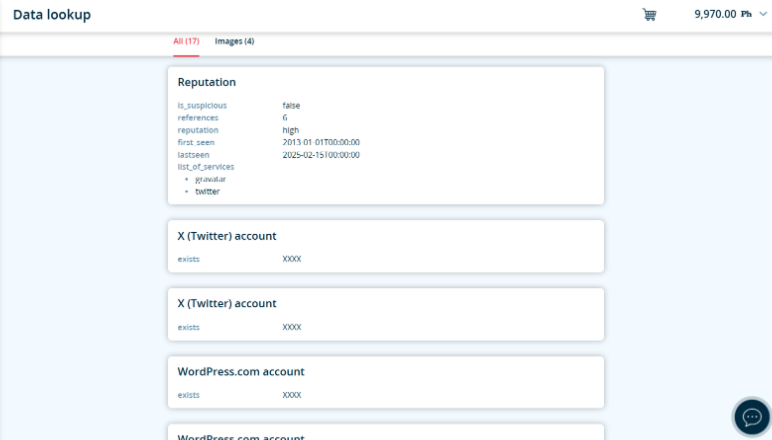
After opening the report, Lampyre will display the results in a structured layout using navigation tabs. These tabs help organize the different types of data found during the search.
In this example, you’ll notice tabs like “Images”, which show social media profiles or online accounts linked to the email, along with any publicly available images connected to it.
Each tab gives you a focused view of one type of data, making it easier to analyze and understand the findings.
Final Thoughts
As you’ve seen in this tutorial, Lampyre makes email OSINT fast and easy. With just a few clicks, you can run a full search and get organized results showing public data linked to an email address. Even if you’re new to OSINT, the interface is simple to use and doesn’t require any advanced skills.
When you sign up, you can purchase an affordable trial plan which gives you 30 Photons, which is enough to perform one full email search. It’s a good way to test how the tool works before deciding if you want to continue using it.
Whether you’re doing investigations, verifying identities, or just exploring, Lampyre offers a smooth and beginner-friendly way to get started with open-source intelligence.